Tartan Dog Collar Crafting Guide: Finding the perfect collar for your four-legged friend can feel like a challenge when you want both style and substance. British dog owners know that a collar is more than just a function—it is a statement of personality and care. Crafting your own with authentic Harris Tweed or rich wool tartan puts you in control of every detail, from bold patterns to lasting comfort. Discover how selecting quality tweed and precision tools sets the stage for a truly bespoke accessory your pet will love.
Table of Contents (Tartan Dog Collar Crafting Guide)
- Step 1: Gather Harris Tweed and Essential Tools
- Step 2: Measure and Cut Tartan Fabric Accurately
- Step 3: Sew and Assemble Dog Collar Components
- Step 4: Attach Buckle and Adjuster Securely
- Step 5: Inspect and Fit the Collar on Your Dog
Quick Summary
| Main Insight | Explanation |
|---|---|
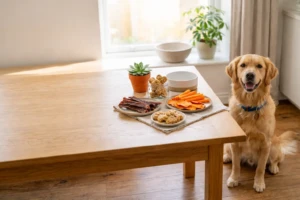
| 1. Gather essential materials | Collect quality Harris Tweed fabric, sewing tools, and additional supplies for a successful collar creation. |
| 2. Measure accurately for comfort | Use a flexible tape to measure your dog’s neck, adding extra for adjustment and comfort. |
| 3. Reinforce stitching for durability | Double-line stitching and zigzag reinforcement ensure your collar can withstand your dog’s activity. |
| 4. Test buckle and adjuster securely | Ensure buckles and adjusters are well-stitched and operate smoothly before wearing. |
| 5. Fit collar properly on your dog | Confirm the collar fits snugly by using the two-finger test to ensure comfort and safety. |
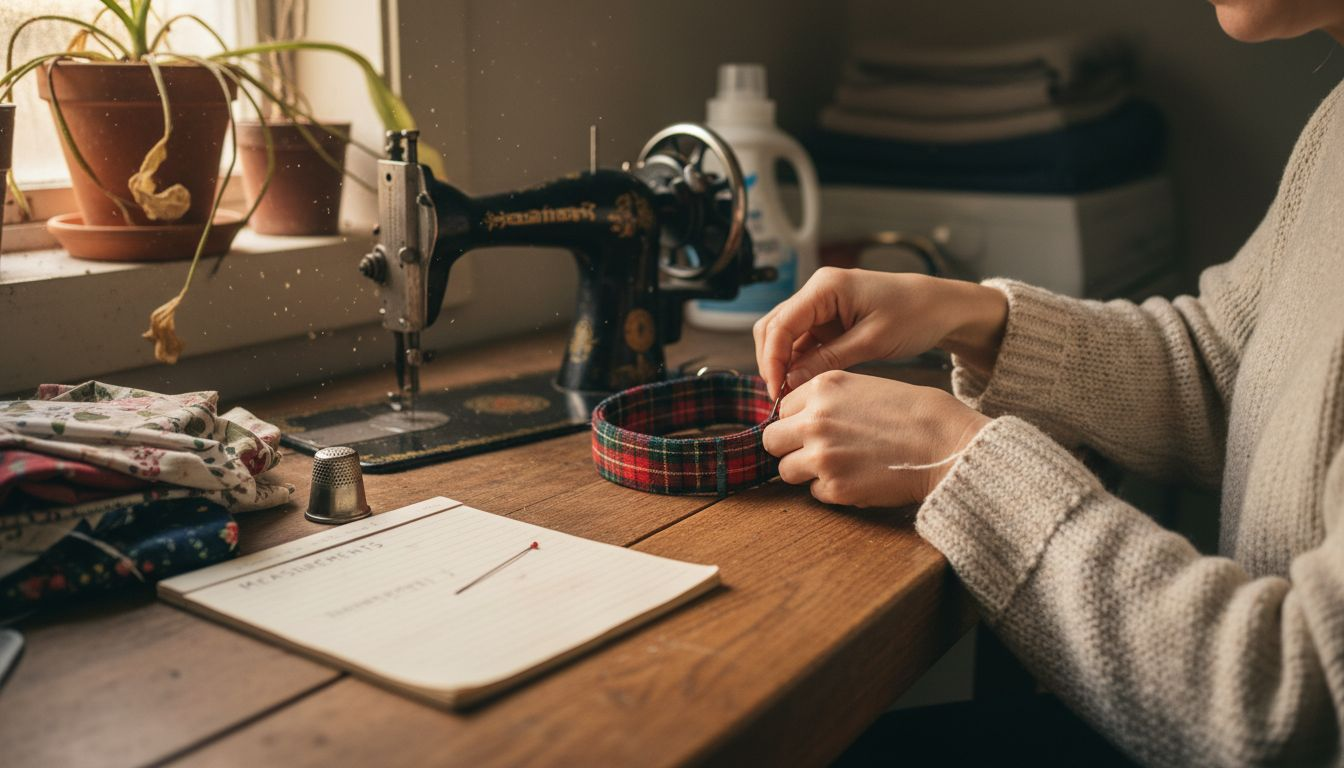
Step 1: Gather Harris Tweed and Essential Tools
Crafting a unique Harris Tweed dog collar requires careful preparation and selecting the right materials. You will need several specific tools and supplies to create a professional quality accessory that will make your canine companion stand out.
Start by gathering your core supplies. Quality Harris Tweed fabric preparation demands precision tools. Essential items include heavy-duty fabric scissors, sharp fabric pins, durable polyester thread that matches your tweed colour, measuring tape, fabric chalk, a robust sewing machine with upholstery needle, and fusible interfacing for structure. The Harris Tweed should be pre-washed or pressed to prevent future shrinkage and ensure clean cutting lines.
Choosing authentic Harris Tweed matters immensely. Look for fabric with tight weaves, rich colours, and a substantial weight that will withstand a dog’s active lifestyle. Aim for wool tweed between 300-500 grams per square metre for durability. When selecting your materials, consider the colour and pattern that will complement your dog’s fur and personality.
Expert Tip: Always purchase slightly more Harris Tweed fabric than your collar design requires to account for potential cutting errors or pattern matching.
Step 2: Measure and Cut Tartan Fabric Accurately
Transforming your chosen tartan fabric into a perfect dog collar requires precise measurement and cutting techniques.
Accurate collar measurement is crucial for creating a comfortable and professional looking accessory for your furry friend.
Begin by measuring your dog’s neck circumference using a flexible fabric measuring tape. Place the tape around the base of your dog’s neck where the collar would naturally sit, allowing enough room for two fingers to slide comfortably underneath. This ensures a snug but not restrictive fit. According to professional sewing guides, you will want to add an extra 5 to 7 centimetres to your measurement to accommodate the collar’s buckle and adjustment mechanisms. When cutting your tartan fabric, use sharp fabric scissors and a metal ruler to ensure straight edges. Measure twice and cut once to prevent wastage of your beautiful Harris Tweed or tartan material.
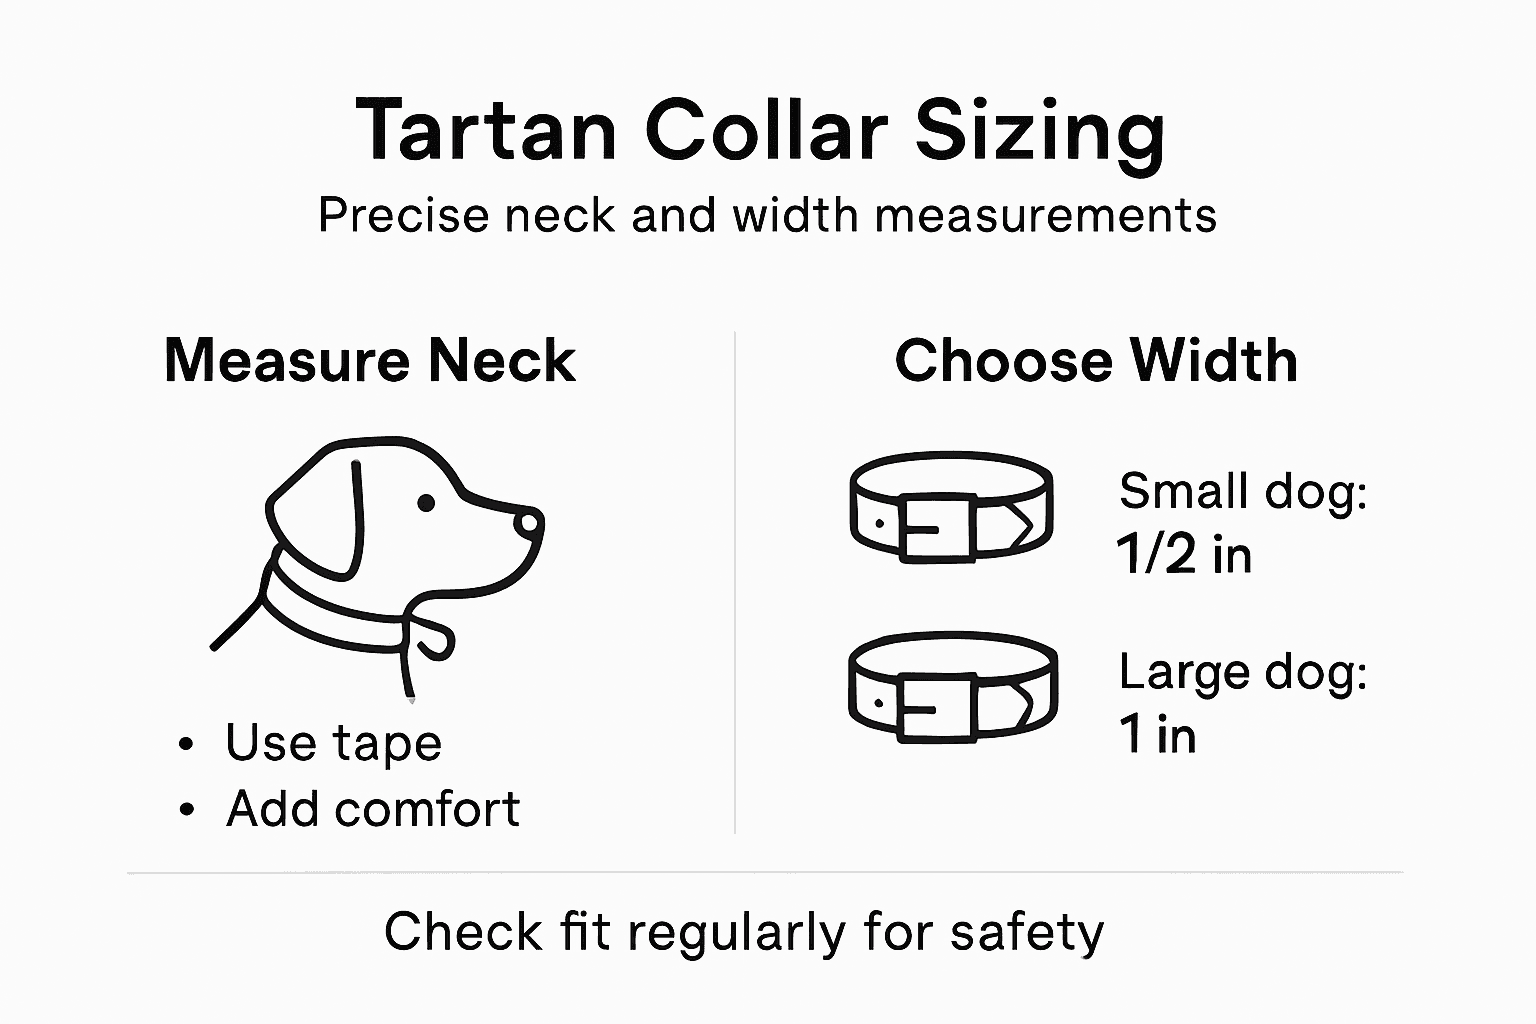
Consider the width of the collar based on your dog’s size and breed. Smaller dogs typically require narrower collars around 2 to 3 centimetres wide, while larger breeds might need collars between 3.5 to 5 centimetres wide. Always add a standard 1 centimetre seam allowance on all sides to provide sufficient fabric for secure stitching and a clean, professional finish.
Here is a quick reference for selecting the optimal collar width based on your dog’s size:
| Dog Size | Recommended Collar Width | Main Consideration |
|---|---|---|
| Small (e.g., Terrier) | 2 – 3 cm | Comfort and lightness |
| Medium (e.g., Spaniel) | 2.5 – 4 cm | Balance of support and style |
| Large (e.g., Labrador) | 3.5 – 5 cm | Durability and sturdiness |
Expert Tip: Iron your tartan fabric before cutting to ensure crisp lines and prevent potential measurement inaccuracies caused by fabric bunching or wrinkles.
Step 3: Sew and Assemble Dog Collar Components
With your tartan fabric carefully cut and prepared, you are now ready to transform these pieces into a professional dog collar.
Custom collar assembly techniques will help you create a durable and stylish accessory for your furry companion.
Start by layering your tartan fabric with sturdy webbing, ensuring the fabric is centred and aligned precisely. Use fabric pins to hold the layers together before machine sewing. Begin with a straight stitch along the length of the collar, keeping the fabric taut and maintaining a consistent seam allowance. Reinforce the stitching by sewing a second parallel line approximately 2 millimetres from the first, which will strengthen the collar and prevent fraying. When attaching hardware such as buckles and D rings, position them carefully and use a zigzag stitch to secure them firmly, creating multiple lines of stitching to distribute stress and prevent potential failure.
Pay close attention to the collar’s stress points, particularly where hardware is attached and where the fabric meets the webbing. These areas require extra reinforcement to ensure the collar can withstand your dog’s active lifestyle. Trim any loose threads and press the completed collar with a warm iron to create crisp, professional edges that will make your handcrafted tartan dog collar look truly bespoke.
This summary highlights the key steps for a robust Harris Tweed collar assembly process:
| Step | Key Action | Reason for Importance |
|---|---|---|
| Layer fabric and webbing | Align materials | Even structure and strength |
| Double-line straight stitch | Sew two parallel lines | Prevents fraying |
| Zigzag reinforcement on hardware | Attach buckle/D ring | Withstands pulling forces |
| Ironing finished collar | Press seams | Achieves a crisp, neat look |
Expert Tip: Test the strength of your stitching by gently pulling on the seams before fitting the collar on your dog, ensuring maximum durability and safety.
Step 4: Attach Buckle and Adjuster Securely
Now comes the crucial stage of integrating your collar’s hardware with precision and strength. Adjustable collar assembly requires careful attention to ensure a secure and functional finish for your handcrafted tartan accessory.
Begin by threading the webbing through the slider and buckle components with meticulous care. Position the slider approximately one third of the way along the collar’s length, which allows sufficient room for adjustment. Fold the webbing end over and stitch multiple times using a tight zigzag stitch to prevent fraying and ensure maximum durability. For the buckle end, create a clean loop by folding the webbing back on itself and reinforcing with three parallel lines of stitching. This triple stitching technique distributes stress across multiple points and prevents potential hardware failure during your dog’s most active moments.
Ensure that all metal components are aligned straight and symmetrically. Test the buckle mechanism multiple times to confirm smooth sliding and secure locking. Check that the adjuster moves freely but maintains its position when tension is applied. A well constructed buckle assembly will provide both comfort and reliability for your canine companion.
Expert Tip: Always test the buckle mechanism by applying gentle but firm pressure to simulate your dog’s movement and ensure the hardware remains securely attached.
Step 5: Inspect and Fit the Collar on Your Dog
Your handcrafted tartan dog collar is almost ready to adorn your beloved canine. Dog collar fitting techniques are crucial for ensuring both comfort and safety during wear.
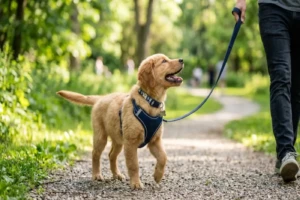
Carefully place the collar around your dog’s neck, ensuring it sits comfortably at the base without restricting movement. The golden rule is the two finger test: you should be able to slide two fingers smoothly between the collar and your dog’s neck. This allows enough room for comfort while preventing the collar from being too loose and potentially slipping off. Check the collar’s positioning by running your hands around the entire circumference, feeling for any potential rough edges or areas that might cause irritation. Pay special attention to the buckle and adjuster areas, ensuring they do not rub against your dog’s skin or coat.
After initial fitting, observe your dog’s reaction and movement. A well fitted collar should allow complete range of neck motion without causing your dog to paw at it or show signs of discomfort. Watch how the collar sits when your dog is standing, sitting, and moving around. Make small adjustments to the slider mechanism if you notice any areas of tightness or looseness. Remember that a perfect fit might require slight modifications to achieve ultimate comfort.
Expert Tip: Recheck the collar fit every few weeks, as your dog’s neck size can change with weight fluctuations or seasonal coat changes.
Elevate Your Harris Tweed Dog Collar Crafting Experience with Expert-Quality Accessories
Creating a stylish and durable tartan dog collar requires precision in fabric selection, measurement, and stitching techniques. If you find navigating the challenges of accurate measurements, sturdy hardware attachment, and secure stitching overwhelming, you are not alone. These key steps demand high-quality materials and carefully crafted components to ensure comfort and longevity for your beloved pet.
Discover how Handcrafted dog accessories made in Harris Tweed and wool Tartan can save you time and deliver elegance with uncompromising quality. Our professionally made collars feature robust stitching, perfectly adjusted buckles, and premium authentic Harris Tweed to suit every dog size and personality. Don’t risk compromising your hard work or your dog’s comfort. Visit https://happydogstogs.com now to explore our exclusive collection and give your furry friend the stylish finish they deserve.
Frequently Asked Questions
How do I measure my dog’s neck for a tartan dog collar?
To measure your dog’s neck accurately, use a flexible fabric measuring tape and wrap it around the base of their neck. Make sure to leave enough space for two fingers to slide comfortably underneath for a snug yet comfortable fit.
What tools do I need to make a tartan dog collar?
Essential tools for crafting a tartan dog collar include heavy-duty fabric scissors, sharp fabric pins, durable polyester thread in a matching colour, measuring tape, fabric chalk, and a sewing machine with an upholstery needle. Gather these before starting your project to ensure efficiency and precision.
What width should my tartan dog collar be for different dog sizes?
The width of your tartan dog collar should vary based on your dog’s size: smaller dogs typically require collars that are 2 to 3 centimetres wide, while medium-sized dogs may need collars between 2.5 to 4 centimetres and larger breeds benefit from collars that are 3.5 to 5 centimetres wide. Use this guideline to select an appropriate width for your furry friend.
How can I reinforce my dog collar for durability?
To reinforce your dog collar, sew multiple parallel lines of stitching, particularly at the stress points where the hardware is attached. This ensures that the collar withstands your dog’s active lifestyle, preventing frays and potential hardware failure.
What technique should I use to attach the buckle and adjuster securely?
When attaching the buckle and adjuster, thread the webbing carefully, position the slider about one third along the collar’s length, and stitch multiple times to create a secure hold. Use a tight zigzag stitch to prevent fraying and check the mechanism several times to ensure it locks securely.
How do I ensure the collar fits my dog comfortably?
To check the collar’s fit, place it around your dog’s neck and perform the two-finger test: you should be able to slide two fingers comfortably between the collar and your dog’s neck. Adjust as necessary for comfort, and recheck the fit after a few weeks to accommodate any changes in your dog’s size.